| <-- Previous | Contents Page | Next --> |
Assembling the Raspberry Pi
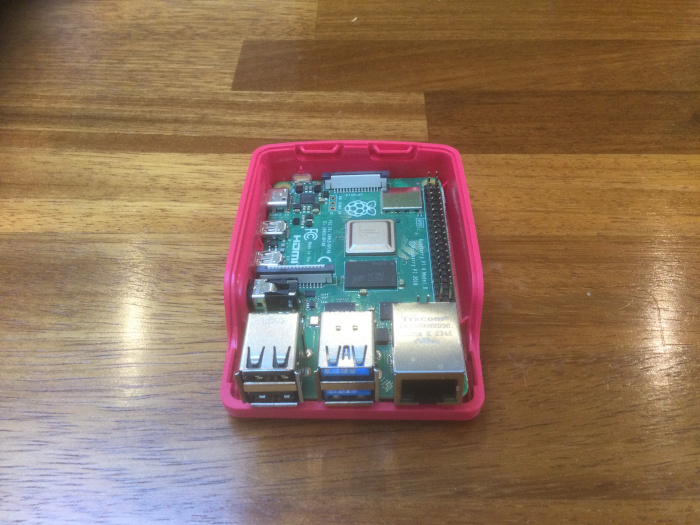
The case I'm using is in two parts that snap together. It doesn't have a fan, which is fine if the Pi is not going to do any heavyweight computations:

The Raspberry Pi and its case
Your case may include a fan and you may have to tighten a few screws, for which you will need a set of small screwdrivers. You can get them from anywhere that sells electronic components.
Assemble this case like so: first, sit the circuit board on the bottom half of the case and push it into place. The micro-SD card slots into a hole at the back of the case.
The Raspberry Pi on the base of its case
Put the top of the case on and clip it into place:

The Raspberry Pi in its case
Plug in the monitor, keyboard and mouse. The kit should include a cable with a standard HDMI plug at one end and a USB plug at the other - micro-USB on some models, USB-C on others. The monitor output is a USB socket on the side of the board.
Your Pi expects to be connected to the Internet via your home or office network. If you run it somewhere with a good WiFi signal, you can just use the WiFi connection. (You configured it when you installed the operating system.) If not, you need to connect a network cable from the Pi to a network socket. If you're at home, you'll find some network sockets on the back of your broadband router.
Network cables (also known as Ethernet cables) come in various lengths and colours. You can buy them from all sorts of places including some supermarkets. You might see them described as cat(egory) 5, cat 6, cat 7 and so on. The number refers to the speed of transfer that the cable can handle. The bigger the number, the higher the speed. There's a limit to how fast the computer can produce and consume data. Cat 5 is quite adequate. More importantly, the plug at each end of the cable has a catch that holds it into the socket. This catch is very fragile and if it gets broken that cable becomes useless. Choose a cable that has a protective sheath around each plug to stop that happening.
Once everything else is plugged in, plug in the power cable. There's no on/off switch. As soon as you supply power, the Pi boots up and logs you in as the user that you specified when you installed the operating system. You should see something like this on the monitor (but these things also have a habit of changing over time):
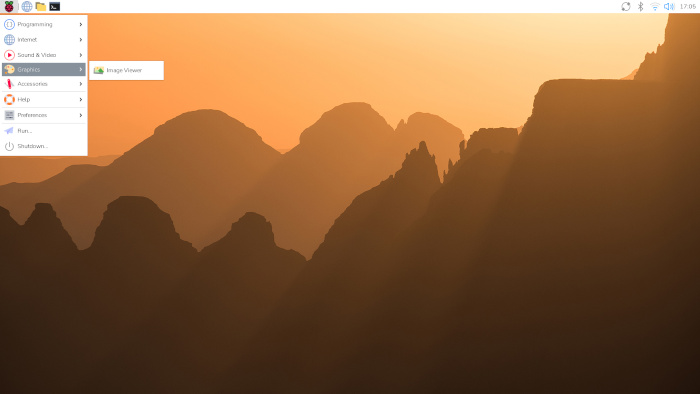
The Raspberry Pi desktop
The user interface is very similar to Microsoft Windows. On the top left of the screen is the Raspberry logo. Clicking that produces a drop-down menu with various options including one to shut down the computer. Next to that are icons that start a web browser, a file chooser and a terminal. On the top right of the screen there's an icon that controls the wireless network connection.
If you want to use the Pi as a desktop computer, you're done. If you want to run it "headless" (without a keyboard, mouse and monitor) you have one more task to do, which is to fix its network address.
| <-- Previous | Contents Page | Next --> |